Catching Your Own Bait
How To Find Your Own Live Fishing Bait
How Finding Your Own Live Fishing Bait Can Become A Great Past Time!
I had an awesome childhood growing up!
Weekends and summertime were always reserved for fishing with grandpa. We’d arrive to a lake an hour or so after sunrise and fish until we ran out of bait or noon to go home and eat some of grandma’s world-famous homemade spaghetti and meatballs!
Over the course of two decades of fishing with my grandfather, I bet we didn’t pay for live bait more than twenty times.
He would have none of it!
After all, if he could turn it into a game for me then that was just an extra excuse to spend more time with his grandson!
I would spend days turning over old tarps and rocks looking for earthworms. When that wouldn’t work, we’d go try a horse manure pile that had been turned into compost (It’s not as gross as you may think).
If the catfish bite was picking up, we would look for proven trees to knock a particular worm off of.
And of course, minnow traps were sat out into ditches and creeks hoping to pick up a few live fish to catch crappie with…
Jealous? I told you it was an AWESOME childhood!
Cutting Costs When Looking For Your Own Bait
The idea is not to make a living catching bait and profiting off it of course, but rather cutting down on the expense of buying bait and adding to the fun of fishing.
After all, if you catch your own bait then it’s always that much more rewarding when you come home with a mess of fish!
There are a ton of live worms, insects, fish and more that can be caught throughout a year and used to catch your favorite sport fish. I will cover the ones that I have personal experience with.
Earthworms
Best times to locate Earthworms: April-June (Or when Low temperatures stabilize in the upper 50’s)
The easiest and most abundant live bait that can be found most times of the year is the common earthworm. Once the first warm rains arrive in spring, they will begin ascending to the base of plant roots as well as under anything that provides them complete shade.
Earthworms cannot tolerate much light at all and typically will only be found along exposed surfaces at night or when they’re flooded out of their homes and must search for higher ground.
After a good rain if you watch Robins (orange bellied birds) frantically scouring the ground then it’s time to look in the yard!
Where To Find Earthworms During The Day
If you happen to know a farmer then you’re really in luck!
My grandfather and I would take a pitchfork and turnover manure piles that had been completely broken down by worms. While it may sound gross at first, these piles had usually sat since late winter and were basically compost.
This was due to the carbon nitrogen effect naturally taking place, resulting in the piles retaining enough heat that the worms had reproduced and thrived!
If you don’t know a farmer, no sweat!
When the first big spring rain comes in and the water table is already high from wet grounds thanks to winter’s melt off, worms must come up quick. They can also be found around flooded street side curbs and can often be picked up by the thousands!
It’s possible to pick up an entire year’s worth of bait if you know how to house them (more on that later).
If it’s summertime, then you will have to get creative and turnover small structures that have covered the ground keeping anything from growing. This can be a concrete cinder block, tarp, or perhaps a 5-gallon bucket, like I said be creative!
Woods are also a great place but remember to bring a rake with you or you’ll have to do it by hand.
If you find that perfect combination of dark matter and the right moisture you should have no problem finding a days’ worth of bait by raking back leaves exposing them!
Caring For Your Earthworms
We are stewards of the land and should do our best to preserve it. I’m finding the older I get the more I want to protect this place for future generations.
With care, it’s possible to catch and house worms, fish the entire season, and then release more than you started with!
Worm populations can triple over the course of a couple of months, and you’ll see their eggs when you’re turning over dirt. Just look for small greenish-yellow ovals about the size of a pencil’s tip.
What You’ll Need To Preserve Your Earthworms
My grandfather and I would apply a light bedding down in three-gallon buckets only three or four inches high (usually leaves or straw). The next layer would be a little bit of dirt. Then for the food organic matter (non-acidic or onion like) and fill it up about six inches or so off the top. The final layer would be dirt again.
Once they became comfortable and had plenty to eat, mating would begin. An earthworm population can triple every couple of months!
The buckets were kept in the shade and only watered when the middle was beginning to dry out. This prevented fruit flies and other undesirable pests from getting in and out competing the worms.
Crickets
Best Time To Locate: August through October
It’s fascinating to me how nature works!
In late summer and early fall I find fewer worms but it’s now when the field crickets begin to mature after a hatch because the soil had reached the right temperature back in July for cricket’s eggs to incubate!
Field crickets are much darker than the common house cricket sold at bait shops or pet stores, but they work just as well and can get even larger!
Most crickets do very little by day and are caught by turning over fallen natural debris that they feed on.
If you’re not patient enough for that though, we’ve found the ultimate way of catching them by day!
Catching Crickets During The Day
Anybody who knows me well enough knows that I absolutely hate cutting grass! I still do it the old fashion way by hand, and we own over 2 acres! The only time I can tolerate it is in August and September when I need to catch a few days’ worth of bait.
It will take a partnership here if you want to be successful.
My fiancé will follow behind me as I mow with a cricket cage picking up all that crawl out of the path of the lawnmower.
The noise and vibrations cause them to scatter revealing themselves. They also seem to be disoriented making them very easy to catch!
We will make a pass on a higher setting, and then come back over it later with the low setting to pick up stragglers!
Keeping Your Crickets Healthy
Crickets are simple if you take a little bit of time to care for them. There are cheap foods that can be purchased in gelatin form and placed inside their cages that will last for days.
Breeding crickets is almost as simple as feeding them if it’s something you wish to investigate!
All you’ll need to add is a small container filled with a loose medium and covered with cheap wire mesh.
Mud Leeches
Best Time To Locate: May-September
By far, the most difficult bait to catch is the elusive mud leech. I can remember as a kid, turning over a tarp just for the heck of it revealing dozens of them, put the tarp back in place, then never finding another!
I’ve dug ditches where in certain sections, I could turn one over but never anything consistent enough until I met an old man at a bait shop who shared something that I’ll always treasure!
To give him the credit he deserves, his name was Mr. Cooksey. He owned Cooksey’s Bait Shop in Herrin Illinois.
Mr. Cooksey was always the first local shop to have leeches in stock in spring. His bait shop was his garage, but man did he have the good stuff!
I can recall back in 2016 going to him and asking if he’d like to add his bait shop to a listing of shops I had compiled on the internet, leading customers to his door for free.
In the politest manner, he replied “son I’ve been here for many decades without the internet, and I plan on keeping it that way until I die”.
Sadly, he was able to keep his promise as he passed away a couple of years ago.
The last time I went to him to purchase leeches he had ran out but asked me if I wanted to know a little secret on how to catch my own…
He said that it didn’t always work every day, but consistently enough to provide a couple dozen throughout the year.
He told me to catch mud leeches you must find the lowest lying ground on a property that retains a little bit of water after all other places have dried up.
Then he told me to take enough cardboard and place it in the water to where it would provide shade in that small area. If I could time it right before the moisture evaporated, peel back the cardboard sometimes there would be leeches there.
The very first time I did this I was able to retrieve three mud leeches! Now I don’t believe I caught too many more throughout the year, but he was exactly right, it worked!!!
Water Leeches
Best Times To Locate: April Through October
Catching water leeches is much easier than the elusive mud leech. They can be caught by the hundreds if placed in the right location!
Water leeches are not as durable as a mud leech but given that you can catch many more it may make more sense to concentrate on catching them instead.
Catching Water Leeches
You can keep this one simple. Leeches need a host to latch onto in order to feed, and blood is on the menu! What’s a good cheap bait that meets these criteria???
Chicken Livers! Actually, anything that seeps blood will work just fine.
People use pie pans folded, tin cans, and anything else that will hold the bait in, allow the leeches to penetrate inside and feed off the host.
You can scour google for an endless number of ways to catch them!
Grasshoppers
Best Times To Locate: July-October
Grasshoppers are easier to locate than crickets, but a little more difficult to catch. They don’t hide away from the sunshine, but you’ll have to comb a little taller grass to increase your chances of success.
When you walk through a field, they will start jumping all over the place but try to focus on just one at a time otherwise you’re just going to get a good workout and few bait.
Grasshoppers can be three to four times the size of crickets, so I just focus on smaller ones under two inches.
To house them use a cricket cage or an old fashion bug box and place some blades of grass inside. Release what you don’t use because there will always be a huge supply!
Crawdads/Crayfish
Best Times To Locate: March-November
I’m not sure that there isn’t a freshwater game fish that will pass up a protein rich crawdad!
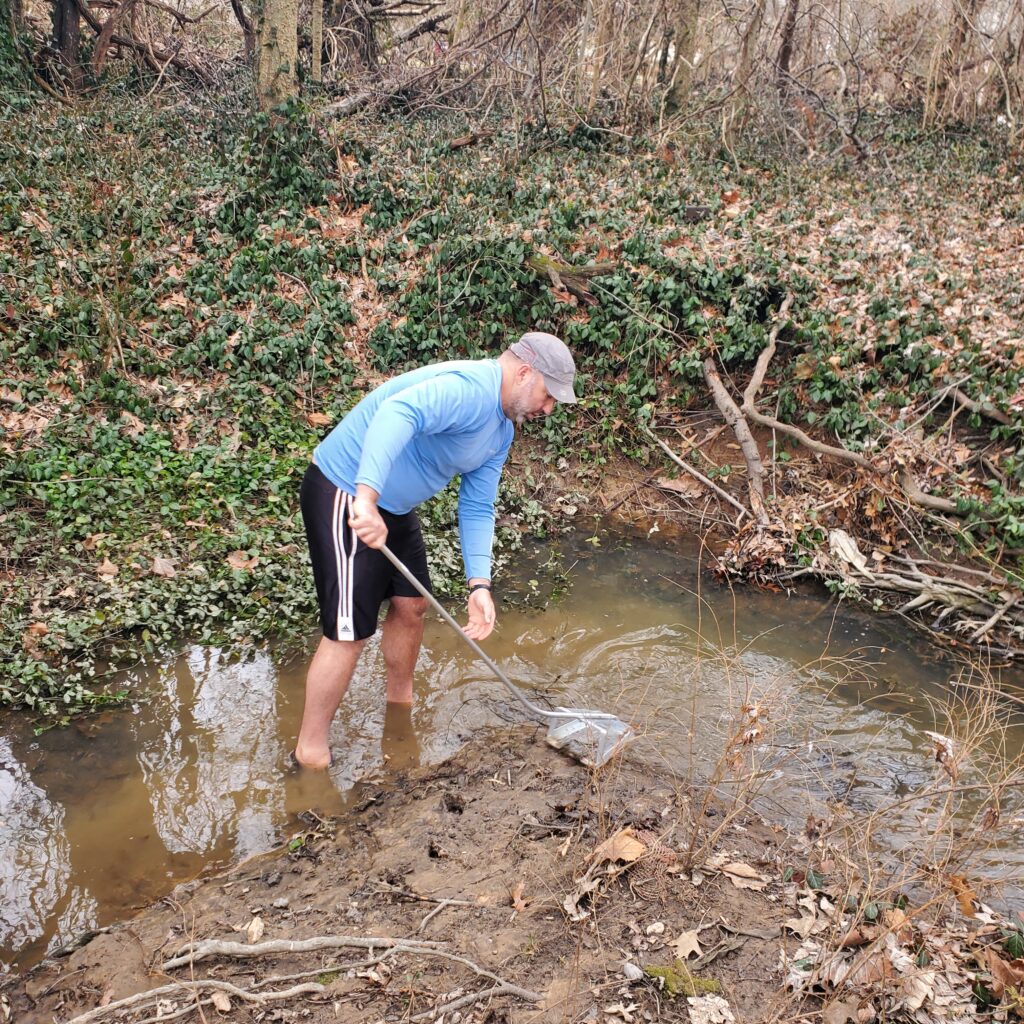
One of my childhood friends would go to his pond, wade out a little bit with a dipnet and drag a huge swath of leaves and sediment up to the bank. Each drag would always yield a dozen or more crawdads that we’d use to catch largemouth bass out of his larger pond behind his house.
If you’re wanting to catch a summer’s worth and you have a shallow waterway that ranges in depth from your knees to your waste, you can grab a seine net and “seine” the bottom collecting all the bait you should need!
It’s always easier with a friend on each side but can be done solo
Minnows will also likely be caught at this time so bring a small bucket along just in case!
Minnows
Best Times To Locate: March-November
A fun bait to catch, the minnow can refer to either a species of bait fish (fathead, chub, etc.) to even baby bluegill found in any freshwater that doesn’t either freeze solid or dry up completely.
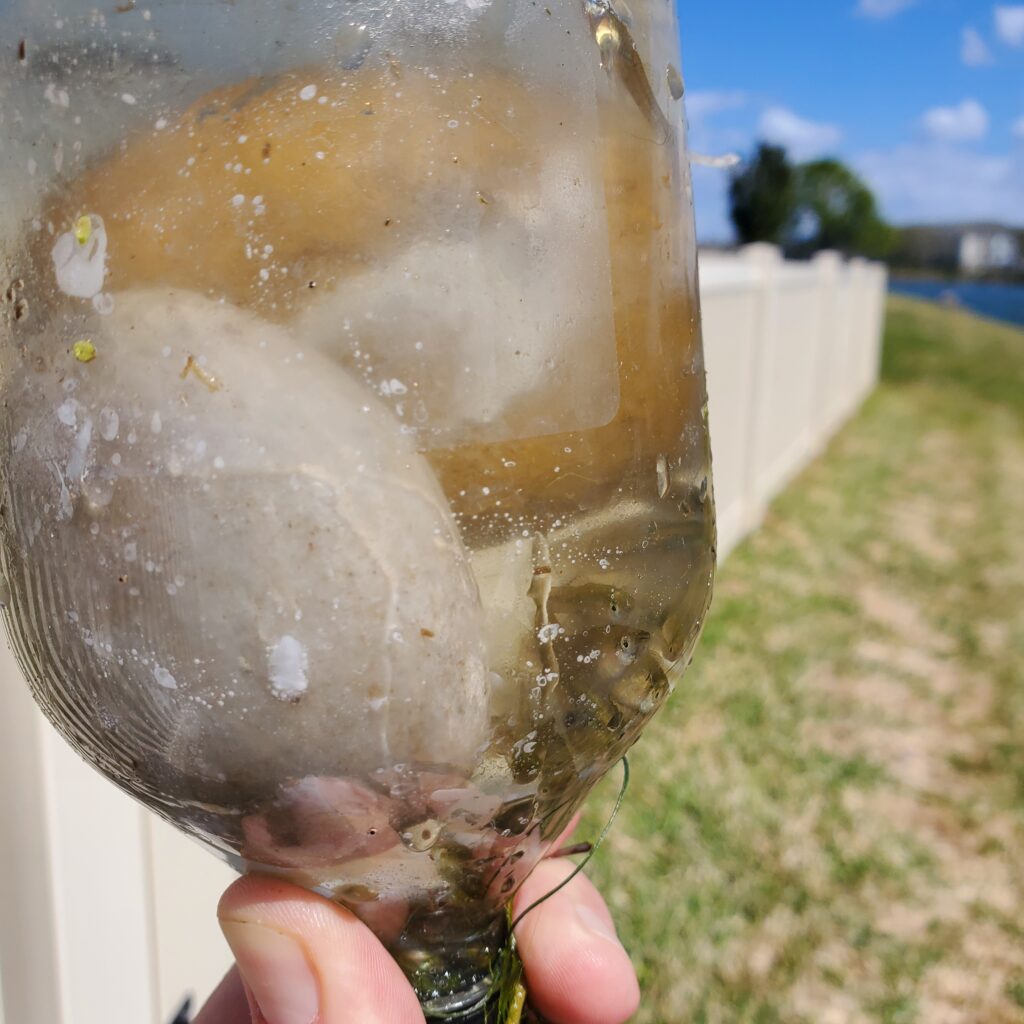
Cone like cylinders funnel the bait into a trap, usually baited by bread or dogfood, and then prevents the majority of your catch from finding their way out.
I remember building some of these as a kid from meshed sheet metal and successfully hauling in some bait from a local mine pond.
If you’re fortunate enough to find an old glass minnow trap at a fair price, be sure to snatch it up as they seem to do the best of all minnow traps!
We go into depth in our article: How To Use A Minnow Trap
Where To Find Minnows
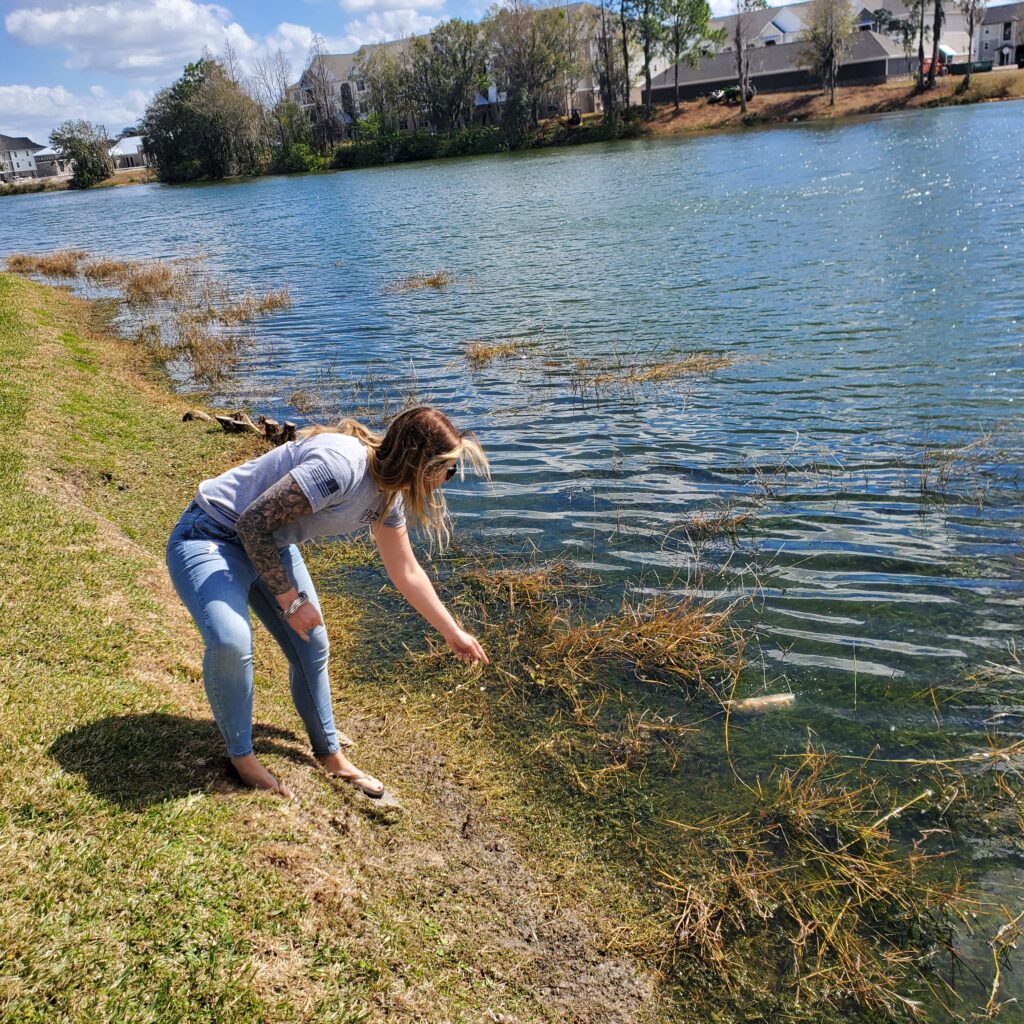
If you know where a large ditch or small creek is then you’ve got a great starting point. Minnows are adaptive little critters and can not only survive but thrive where you’d least expect!
Fatheads are one of the most popular varieties of minnows found in bait shops.
In the wild though they can be found in swamps and other low oxygen waterways. Due to the fact that they can live in such harsh conditions away from most predator fish, it’s possible to catch hundreds of them with some well-placed traps saving you some big $$$$!
How To Catch Minnows
Once you have a trap, find some dry dog food or tear up some stale bread and place it inside. Next, you’re going to want to attach a rope to the trap with the length depending on the depth of water, and how far out you need to throw it out.
Shaded areas, like undercut clay banks or underneath fallen trees work well though the minnows will use their senses to find your trap and the food inside from long distances.
If in a really good spot, you’ll be trapping minnows within minutes but it’s best to let it sit for several hours maximizing your harvest. I leave them overnight.
Mealworms
Next to the earthworm, mealworms are the simplest live bait that you can keep alive once you’ve started a colony. The only problem is you must start by catching beetles! I added these to the list due to how easy they are to raise as opposed to locate.
Going to any good local pet shop and you’ll find mealworms in various quantities, as reptile enthusiasts use them as a high protein source for their snakes, turtles, and other cold blooded creatures.
Mealworms are easy to raise and require just the basics. First, you’ll want to start out with a bedding of oats. Then my preference is to use “thirsty cricket” to cut down on bad bacteria growth as their water source. Finally keeping mealworms between the temperatures of 70 and 85 degrees is optimum to encourage reproduction.
If you do start out through the pet shop it will take you a few months to grow a sustainable colony, but you will be fishing for as long as you take care of them!
Catalpas Worms
Best Times To Locate: June-August
One of the best kept secrets when it comes to channel catfishing, these caterpillars feed of the catalpa tree certain times of the year.
The catalpa tree is distinguishable through its long been like pods. Only certain trees will attract the worm, but you’ll notice the leaves being decimated indicating that worms have started to colonize.
Catalpa worms disappear almost as quickly as they appear so check trees often for signs!
To retrieve them, my grandfather and I would bring a along a twelve-foot cane pole. He’d knock them off and I’d run around the tree collecting them.
Cut Shad
Another great choice for catfish, netting shad can be almost as fun as catching their predators!
Cast nets are purchased at sporting goods stores for a relatively cheap cost. Once you’ve purchased it the difficulty begins. Learning the technique to cast it takes repeated attempts of finding the right starting position and then dragging it back up out of the water until you get it down.
Don’t get too frustrated though because once you get it down, coming up plenty of bait is a breeze!
Locating Shad
Shad are good at giving up their position easily and any given area of a lake will hold them. The best place to throw is usually beneath dams and around bridges.
Cast the net out making sure it lands on top of the water as wide open as it can. You will let it float to the bottom and then begin pulling on the rope thus synching the net trapping the shad.
Check your local laws and make sure to throw back all game fish!!!
Conclusion
While only scratching the surface of the available live bait we can catch ourselves this list should be a great starting point. Google provides much deeper dives so if any of these can be expanded upon.
Hopefully you can get out there and catch some worms, crickets, or minnows with a child and teach them nature firsthand!


