Catching Your Own Bait
How To Use A Minnow Trap To Catch Bait
Feb
Please note that some of my articles contain pictures of the products that I write about. By clicking on them you will be redirected to my affiliate links where you can purchase the reviewed product. I typically get a small commission off any purchases which helps keep my site growing!
Ever Wondered If You Could Save Money By Trapping Your Own Minnows?
Seems like after every article I write on how to save money fishing, prices just decide to jump the next day! Shipping costs, gas, and the rise in labor, just means we are going to have to get used to it and fork over more of our hard-earned money… Or might there be a solution?
It’s a toss-up but I believe that minnows and crickets are the most popular live baits to be picked up at your local tackle shop. I’ve seen firsthand at some of my busiest shops where deliveries are made daily to restock the tanks, and cricket boxes.
I’m sure most of you have seen these cone shaped mesh cylinders that are called “minnow traps” on the shelves of certain stores, but wondered do they actually work or just trap fishermen? In the article ahead I will prove to you that yes, they do work, and I will also show you a cheap way of making your own to try out at the local creek!
*We Will Cover In This Article*
- How A Minnow Trap Works
- What Makes The Best Minnow Trap Food
- Where To Use Your Minnow Trap
- How Long To Leave Your Minnow Trap In The Water
- What To Do With Your Bait Once You Catch It
- How To Make A Cheap Effective Minnow Trap
How A Minnow Trap Works
A minnow trap has the ability through its design to funnel in all sorts of desirable bait fish because of its easy entry but tough to escape funnel located at either one end or both ends of the trap. Once the minnow has located the bait you set in the trap it will swim inside but rarely escape.
Mesh traps usually have cones on each end with an interlocking system to connect the two pieces. A small rope is attachable to the locking system for ease of use. The locking system when undone, will allow you to remove bait and old food, or rebait the trap. the pieces can also store inside one another saving room.
The trap will be completely submerged and left alone for several hours or up to a day to allow the bait to find its way to the food source.
What Makes The Best Minnow Trap Food?
Ask three people, you may get three answers, but dog food, old crackers, and stale bread are the best baits when it comes to minnow traps!
When using bread or crackers break them up into one-to-two-inch pieces before you place them in the trap. Stick to larger dogfood as opposed to pellets that will absorb moisture too quickly and seep through the trap.
Where To Use Your Minnow Trap
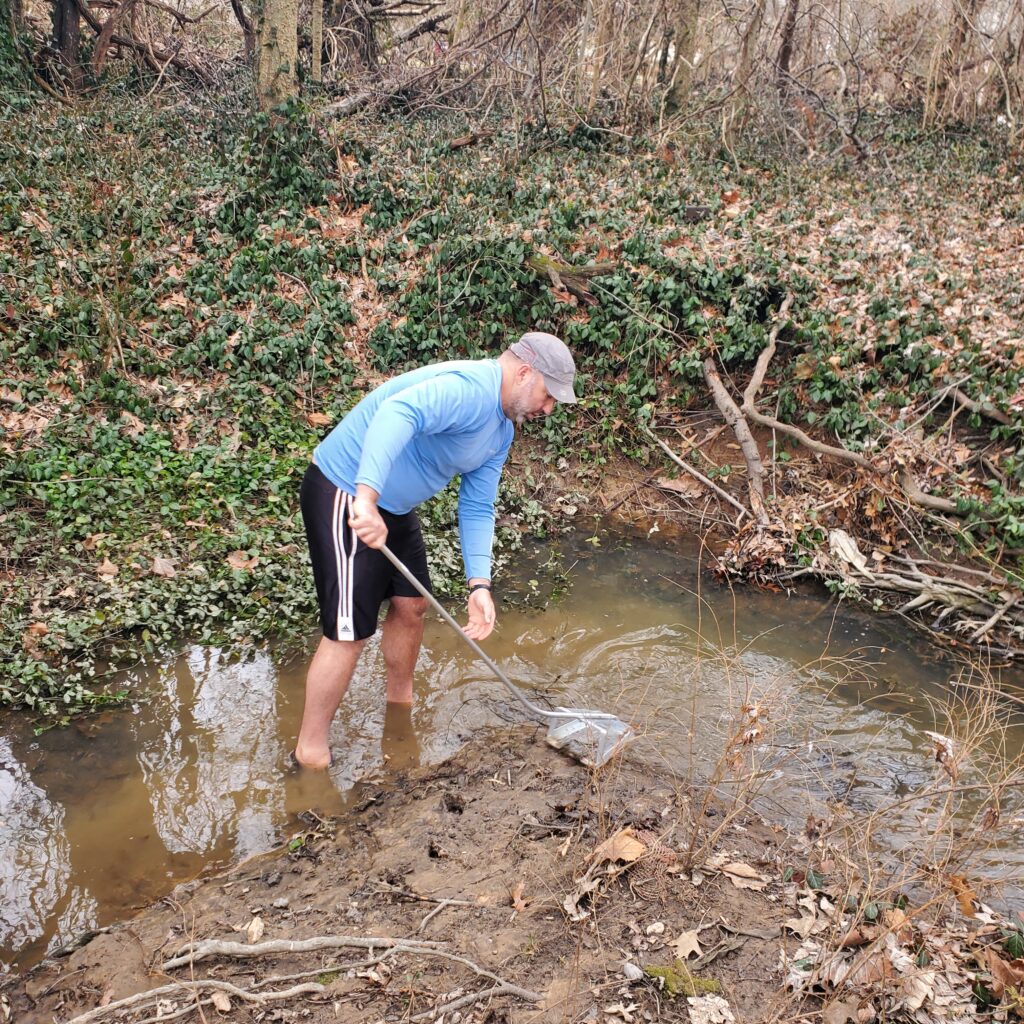
It may seem obvious but if you see minnows swimming in a ditch or narrow stream start there! Food and cover are limited in small areas and you’re likely to draw them in from a distance. I actually prefer laying my traps in these locations over any because of the bottleneck and dry holes which make the minnows easier to pick off!
The deeper holes within the shallow stream will hold the most minnows so be sure to lay a trap there.
Culverts are great spots to place a minnow trap as any local baitfish will seek it out if felt threatened!
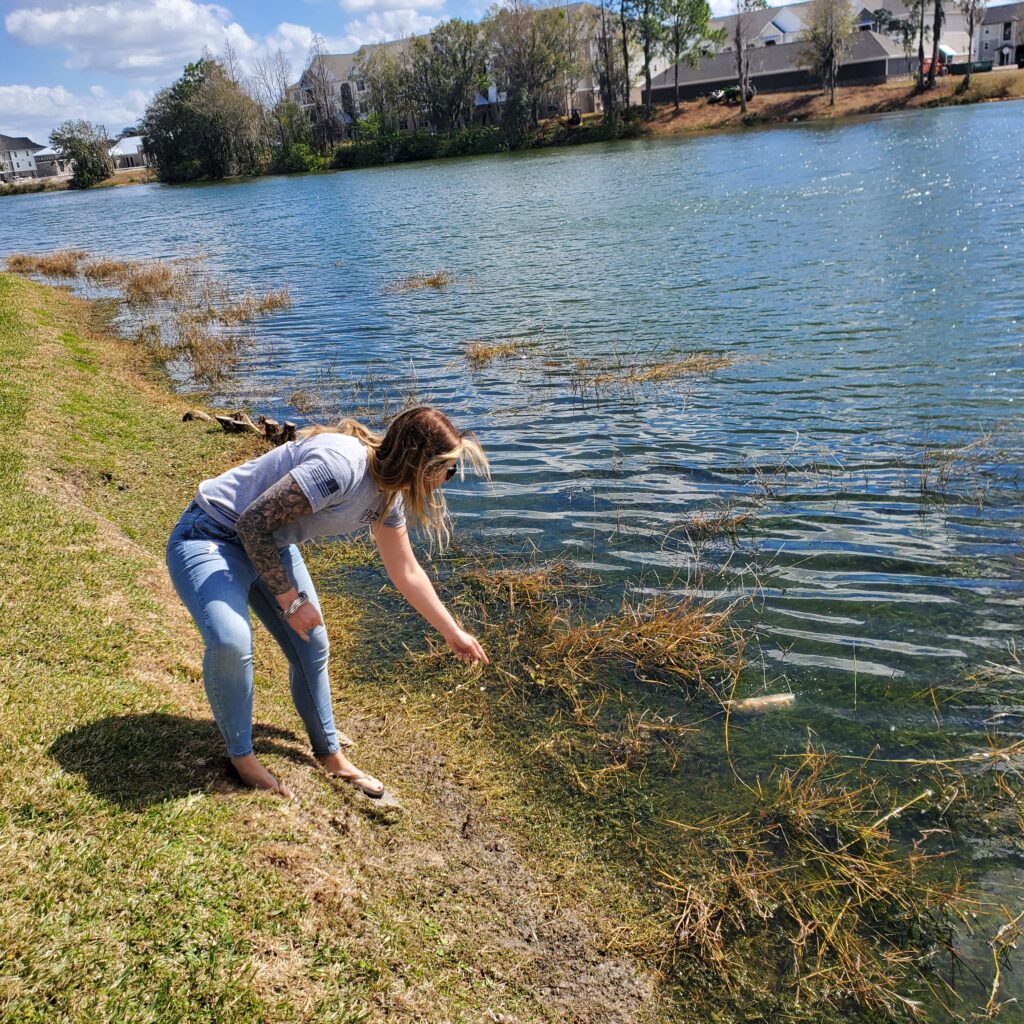
If a narrow stream isn’t ideal, then I will next look into creeks or lakes.
Minnows are the most preyed upon fish in an ecosystem, so they have got to live out most of their lives around vegetation, docks, or any natural cover they can find.
My search begins around limbs overhanging from the bank. The small branches allow minnows easy escape routes where some predator fish might not be able to navigate. If the overhangs sit close to grass, then I will opt for those locations first.
Undercuts are an excellent location as well! If you’ve come upon a creek and spooked minnows, you will notice them swimming for any shady spot they can. A washed-out bank (especially with a root system) will be one of their first hideouts. You can take advantage of this by placing your trap here as the bait fish will naturally navigate to this area throughout a day.
Retaining concrete walls are one that’s often overlooked but can be the most productive. If you see moss or algae growing along the wall, then rest assure that there are minnows in the area coming up to feed when the coast is clear.
How Long Do You Leave Your Minnow Trap In The Water?
If you’re doing the bulk of your minnow trapping in a narrow stream or creek then you should only have to leave it submerged for a couple of hours before lifting it out. If your spot yields no minnows then it’s safe to say you gave it enough time and the spot is just not productive so mosey on down to the next hole.
When it comes to a lake or larger body of water, you should leave your minnow trap submerged twelve to twenty-four hours before I check up on it.
Taking Care Of Your Caught Bait
Catching minnows is only part of it. You’ve got to care for them once you have them!
Always remember to bring a minnow bucket with you that is insulated to prevent thermal temperature loss in case the air temperature and water temperature are greater than twenty degrees difference.
If it’s summertime or you will have a long walk back, you should have a portable battery power bubbler to keep your water oxygenated so your fish can survive. Remember the hotter the water, the quicker the oxygen dissolve rate!
Making Your Own Homemade Minnow Trap
Before we begin, I must admit that store bought minnow traps will more times than not, out catch a homemade minnow trap. They’ve simply past the test of time! On the other hand, it’s a lot of fun making your own traps for little cost and scattering them throughout an area and then checking them the next day!
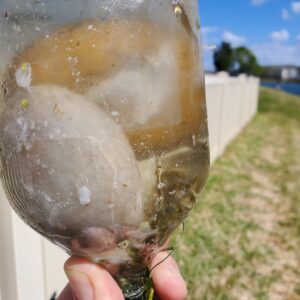
I will show you how we made the one at the top of the page (yes it does work!)
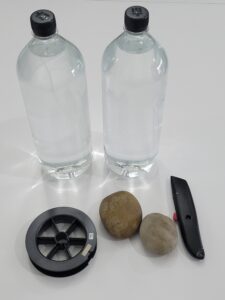
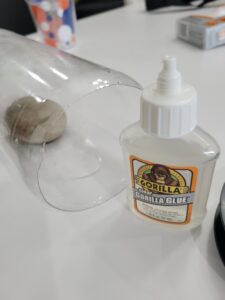
1.) Start with two bottles of water, each 1.5 liters, a couple of heavy rocks, good scissors/utility knife, gorilla glue, and strong braid fishing line.
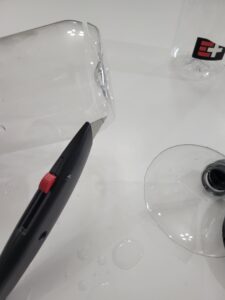
2.) We will name one bottle A and one bottle B (doesn’t matter which in the beginning) which need to be drained of all water. Taking the cutting instrument cut a nice clean cut at the bottom of bottle A.
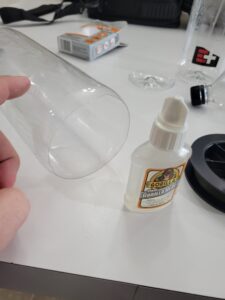
3.) Next, cut the top off of bottle B where the cylinder is right at its widest
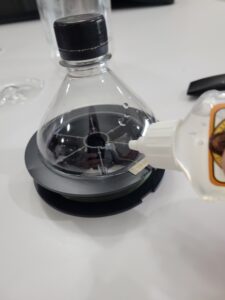
4.) Take your gorilla glue and run a generous amount on the inside of the of bottle A. Next, place a generous amount of glue onto the rocks and stick them to the glue inside the bottle. This is an important step so make sure it cures properly. Using Gorilla Tape to help seal it and hold it just adds more stablility!
You will then put glue on the inside cylinder of bottle A and the outside of the cone on bottle B, then quickly place the cone funnel first inside the cylinder so that your ends are flush!
5.) Make two small holes opposite each other on the capped end of Bottle A. Then run the line through. Join the ends with a strong knot and then roll out enough additional line that will allow you to cast the trap!
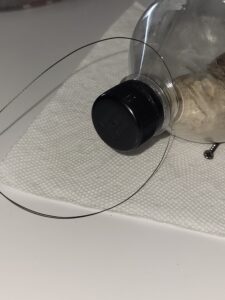
As mentioned before these traps are a ton of fun to make and use, and they do work! If you want to get really serious about it though look into professionally made market traps like The Gee Minnow trap listed to the right. If you’re interested in purchasing it, feel free to click on the picture and you will be taken to my amazon affiliate link!

Our first cast was a dud with the new minnow trap but on our 2nd, we found a little deeper hole and caught north of 20 minnows!!!!