Bluegill
The Best Bluegill Rigs From Beginner To Advanced
Trying To Find The Best Rig To Fish For Bluegill Isn’t Always Cut And Dry!
It’s true that in many lakes all you need is a good cork, split shot, and hook with a live cricket attached to catch a mess of bluegill in a day. After all, the simplicity that comes with catching bream is why most of us learned how to catch them in the first place!
But just because it works when aggressive males are guarding beds in the spring, doesn’t mean it’ll work 365 days!
If you decide to go back the other eighty percent of the year those holes will be dry, and your fish sack will be empty if you don’t adjust. Here we will do just that, and I will teach you my favorite rigs that work best for bluegill when others won’t!
Listing The Best Bluegill Rigs In This Article
I will rank these based on difficulty from beginner to advanced since no one rig is overall better than the other. All these should catch bluegill at any given time, but lake conditions will be a deciding factor.
Believe me when I tell you that once you’ve got them all down, you will be a complete fisherman!
Let’s get started!
Common Bluegill Rig
Pros:
- Simple For Beginners
- Easy To Detect Bites
- Fun For Children
Cons:
- Tougher To Control Your Cast (depending on depth set)
- Not optimal in water deeper than five feet
- Not optimal in clear water
- Expensive if corks are lost consistently
It’s how I started and just about every other fisherman around me. Illinois has shallow muddy water reservoirs setting this rig up for amazing success.
What you’ll need:
- Rod & Reel or Cane Pole’s both work great
- Bluegill Corks
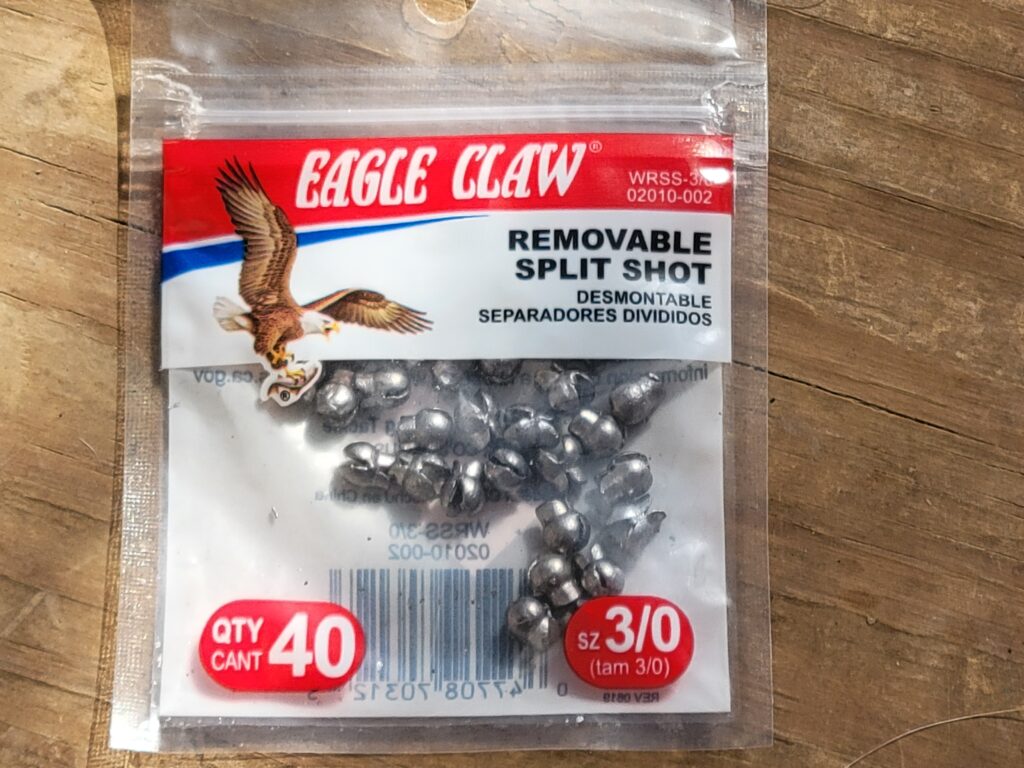
- Split Shot
- Small Bluegill Hook
- Bait
Fishing in shallow water or from the bank, first tie a hook using a fisherman’s knot. Next crimp a split shot (removeable preferred) about three inches above the hook. Finally choose the right cork, attaching accordingly.
How To Fish It:
Choose a bay with a little bit of wind on it if possible as it will provide current moving your bait around along with all kinds of underwater debris which will in turn make the fish more active in this area.
Begin casting as if you’re a hand on a clock, starting first at ten o’clock until you make it around to two o’clock. If no bites then move down about twenty feet and repeat
When A fish bites you will see your cork “bobbing” up and down, the key signal that it temporarily is catchable is when your cork completely disappears. SET THE HOOK!!!
Start with live bait if you’re a beginner. Once you think you’re good enough pick up a pack of Phyllis Bluegill Bugs and you’ll never need bait again! 😉
Weightless Clear Float Rig
Pros:
- Most Exciting Rig To Catch Subsurface Or Even To Water Bluegill
- Works Best Post Spawn
- Doesn’t Require A Split Shot
Cons:
- A lot More Misses Than Catches
- Requires Better Casting Ability
- Only Works In Very Specific Conditions
An amazing fish catcher on the hottest days of the year! Anytime you look out across a pond or lake and see an area that seems to be getting frequent small splashes at the surface, there’s a good chance that a school of bluegill are suspended inches beneath the water chasing bugs that keep landing.
This will set you up for what I believe the be the most exciting type of bluegill rig. you’ll literally be fishing topwater if done right!
What You’ll Need:
- Rod & Reel (Pole Not As Effective)
- Clear Float
- Small Bluegill Hook
- Phyllis Bluegill Bug
Tie a Fisherman’s Knot through a hook. Next thread your Phyllis Bluegill Bug onto your hook. Finally attach a clear float about eighteen inches above your bug. Due to its plastic, the bluegill bug will have a natural buoyance so every time you reel the cork toward you, the bait will rise.
The idea is to cast out past the bluegill so that you don’t disturb them on the initial splash. It should only take a few casts before you learn the art of keeping the bug up as high as possible near the surface.
Bites are vicious as bluegill schools can be massive and food be scarce. Don’t be surprised if you miss several but at the end of the day you should have a nice mess of fish. The hot summer days of June, July, and August are the best times to fish this rig due to the many bugs out and about.
Finesse Catfish Rig
Pros:
- Reaches Fish In Deeper Water
- Works Better In Clearer Water Than Common Bluegill Rig
Cons:
- Tougher To Detect Bites
- More Hang ups
My grandfather learned this one by accident while we were fishing Lake Lanier in northern Georgia.
We had rented a cottage for the week and of course spent everyday fishing!
The first couple of days we had little to no success using the common rig, though the water was so clear we could see the fish actually gathering around our worms. The fish refused to bite so grandpa removed his cork.
Soon the fish started biting and we were able to take this pattern everywhere we went with success! We determined that the cork was what was preventing the fish from biting.
What You’ll Need:
- Rod/Reel (Pole won’t work)
- Small Fishing Sinker With Eye Weighing A Quarter Ounce Or Less
- Small Bluegill Hook
- Bait
Tie a Fisherman’s Knot through your bluegill hook leaving about a foot long tag at the end. From here tie a Fisherman’s Knot through the eye of the sinker leaving the rig about six inches from weight to hook.
Cast out to your prime locations and let it sit, don’t reel up as you’ll be on the bottom and snags could come quick. Whenever it’s time to move your bait, hold your rod up as high as possible and reel fast to get the bait up high in the water column.
Slip Cork Rig
Pros:
- Reaches Deeper Than The Common Bluegill Rig
- Can Easily Be Casted Long Distances
Cons:
- More Difficult To Detect Bites
- More Difficult To Learn To Rig
- More Components Equals More Expensive To Replace When Lost
While I prefer using the slip cork rig more for crappie, it will most definitely work on medium depth bluegill. I prefer it around bridge piers due to the fact that most creek channels run behind them making for deeper contour lines. The slip cork can be fished over fifteen feet!
The difficulty comes from each bite. The deeper you fish the longer the reaction time from the bite to the cork beginning to bob up and down. If your cork stopper isn’t tight to your line, then it’s possible to never detect the bite.
Often times I will set the hook on any odd movement produced by the cork including side to side movement.
What You’ll Need:
- Slip Knot
- Bead
- Slip Bobber/Cork
- Split Shot
- Hook
- Bait
Begin this time with the slip knot. Run it about five feet up your line so you’ll have plenty of room. After you’ve synched your knot down to your line, slide the slip cork through. Next tie your Fisherman’s Knot through your hook. Finally attach a small removeable split shot about three inches above your hook.
Cast out, you will know when your bait has hit its depth destination because the top of your slip cork will meet your slip knot standing the cork upright. As you reel up slowly remember you’ll have to pause so that the bait can get back down to its set depth.
Check your slip knot periodically to make sure it isn’t too loosely tied to your line which will cause it to slip deeper than you intended.
Bluegill/Bream Drop Shot Rig
Pros:
- Can Be Fished In Deep Water
- Best Winter Bluegill Rig
- Can Be Trolled With Once Mastered
- Catches Bigger Average Bluegill
Cons:
- Very Difficult To Master
- Time Consuming To Rig
- Can Get Hung Up A Lot
When I’m out chasing bluegill/bream and it’s not spawning season, I will always have a tacklebox full of dropshot rigs. While not known as much in the south, this rig works amazingly well in deep clear water, and is the only way I will ice fish.
The weight sits on the bottom while you’re able to hold both hooks up off of it drawing in bluegill. Yes, I said “both” hooks, I use two!
What You’ll Need:
- Bait (I use one live and one artificial in winter)
- Small Bluegill Hooks (2)
- Drop Shot Weight (quarter ounce or less)
How To Fish A Dropshot Rig For Bluegill/Bream
Tie your first hook to your line using a simple loop knot leaving a foot of tag line. Next, tie your second loop knot leaving about six inches of tag line. Finally use a Fisherman’s Knot to tie the dropshot weight keeping it about two inches from your bottom hook.
Thread a Phyllis Bluegill Bug on your top hook in the winter, and a wax worm on your bottom. If it’s a warmer time of the year, then you may be able to use artificial on both rigs.
Lift up until your line is tight, but make sure your weight stays on the bottom. You can now start jigging the rig which will draw attention from anything close by. If the water is too cold the fish may opt for your live bait instead but drawing them there in the first place is what the bug is for!
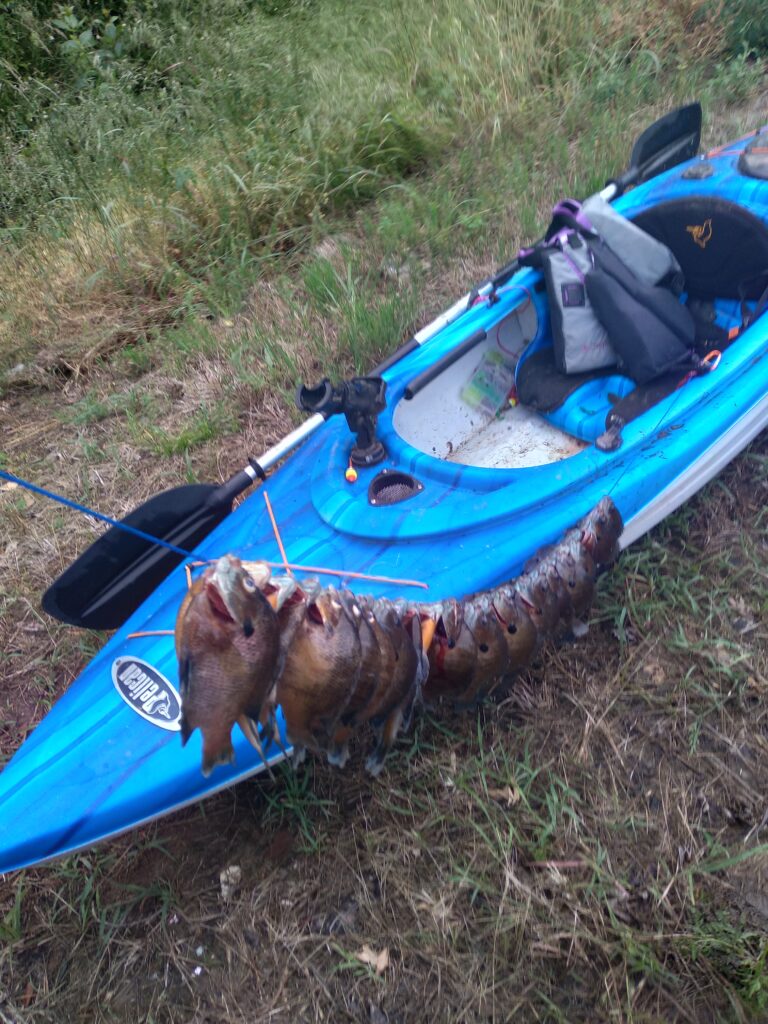
I also use this method when kayak fishing. I will drag rig along relatively clean bottoms as not to get too many snags. Once I get bit, I will stop paddling and cast my other pole towards the area thus marking it.
* Understand this is a difficult way to fish and will need time to master.
Conclusion
Hopefully I’ve put some good ideas into your head for chasing bluegill in the upcoming year. Many anglers only chase them during the spawn thus limiting their time on the water. I don’t like that… I can’t bear the thought of not fishing and catching 365 days a year!